Active Directory Integration
A Microsoft Active Directory (AD) integration with Cloudhouse Guardian (Guardian) allows you to automatically sync and detect nodes from your AD instance(s) to be added to Guardian for monitoring and evaluation. This topic describes the steps you need to complete to setup an AD integration in Guardian.
Dependencies
To add an AD integration, you'll need to have an AD account. This could be an existing user account, but we recommend setting up a brand new user account named 'Guardian' for easier identification.
Add an AD Integration
Integrating AD with Guardian establishes a seamless connection to streamline the process of syncing and monitoring your AD nodes, ensuring they are efficiently scanned in Guardian.
To add an AD integration to Guardian, complete the following:
-
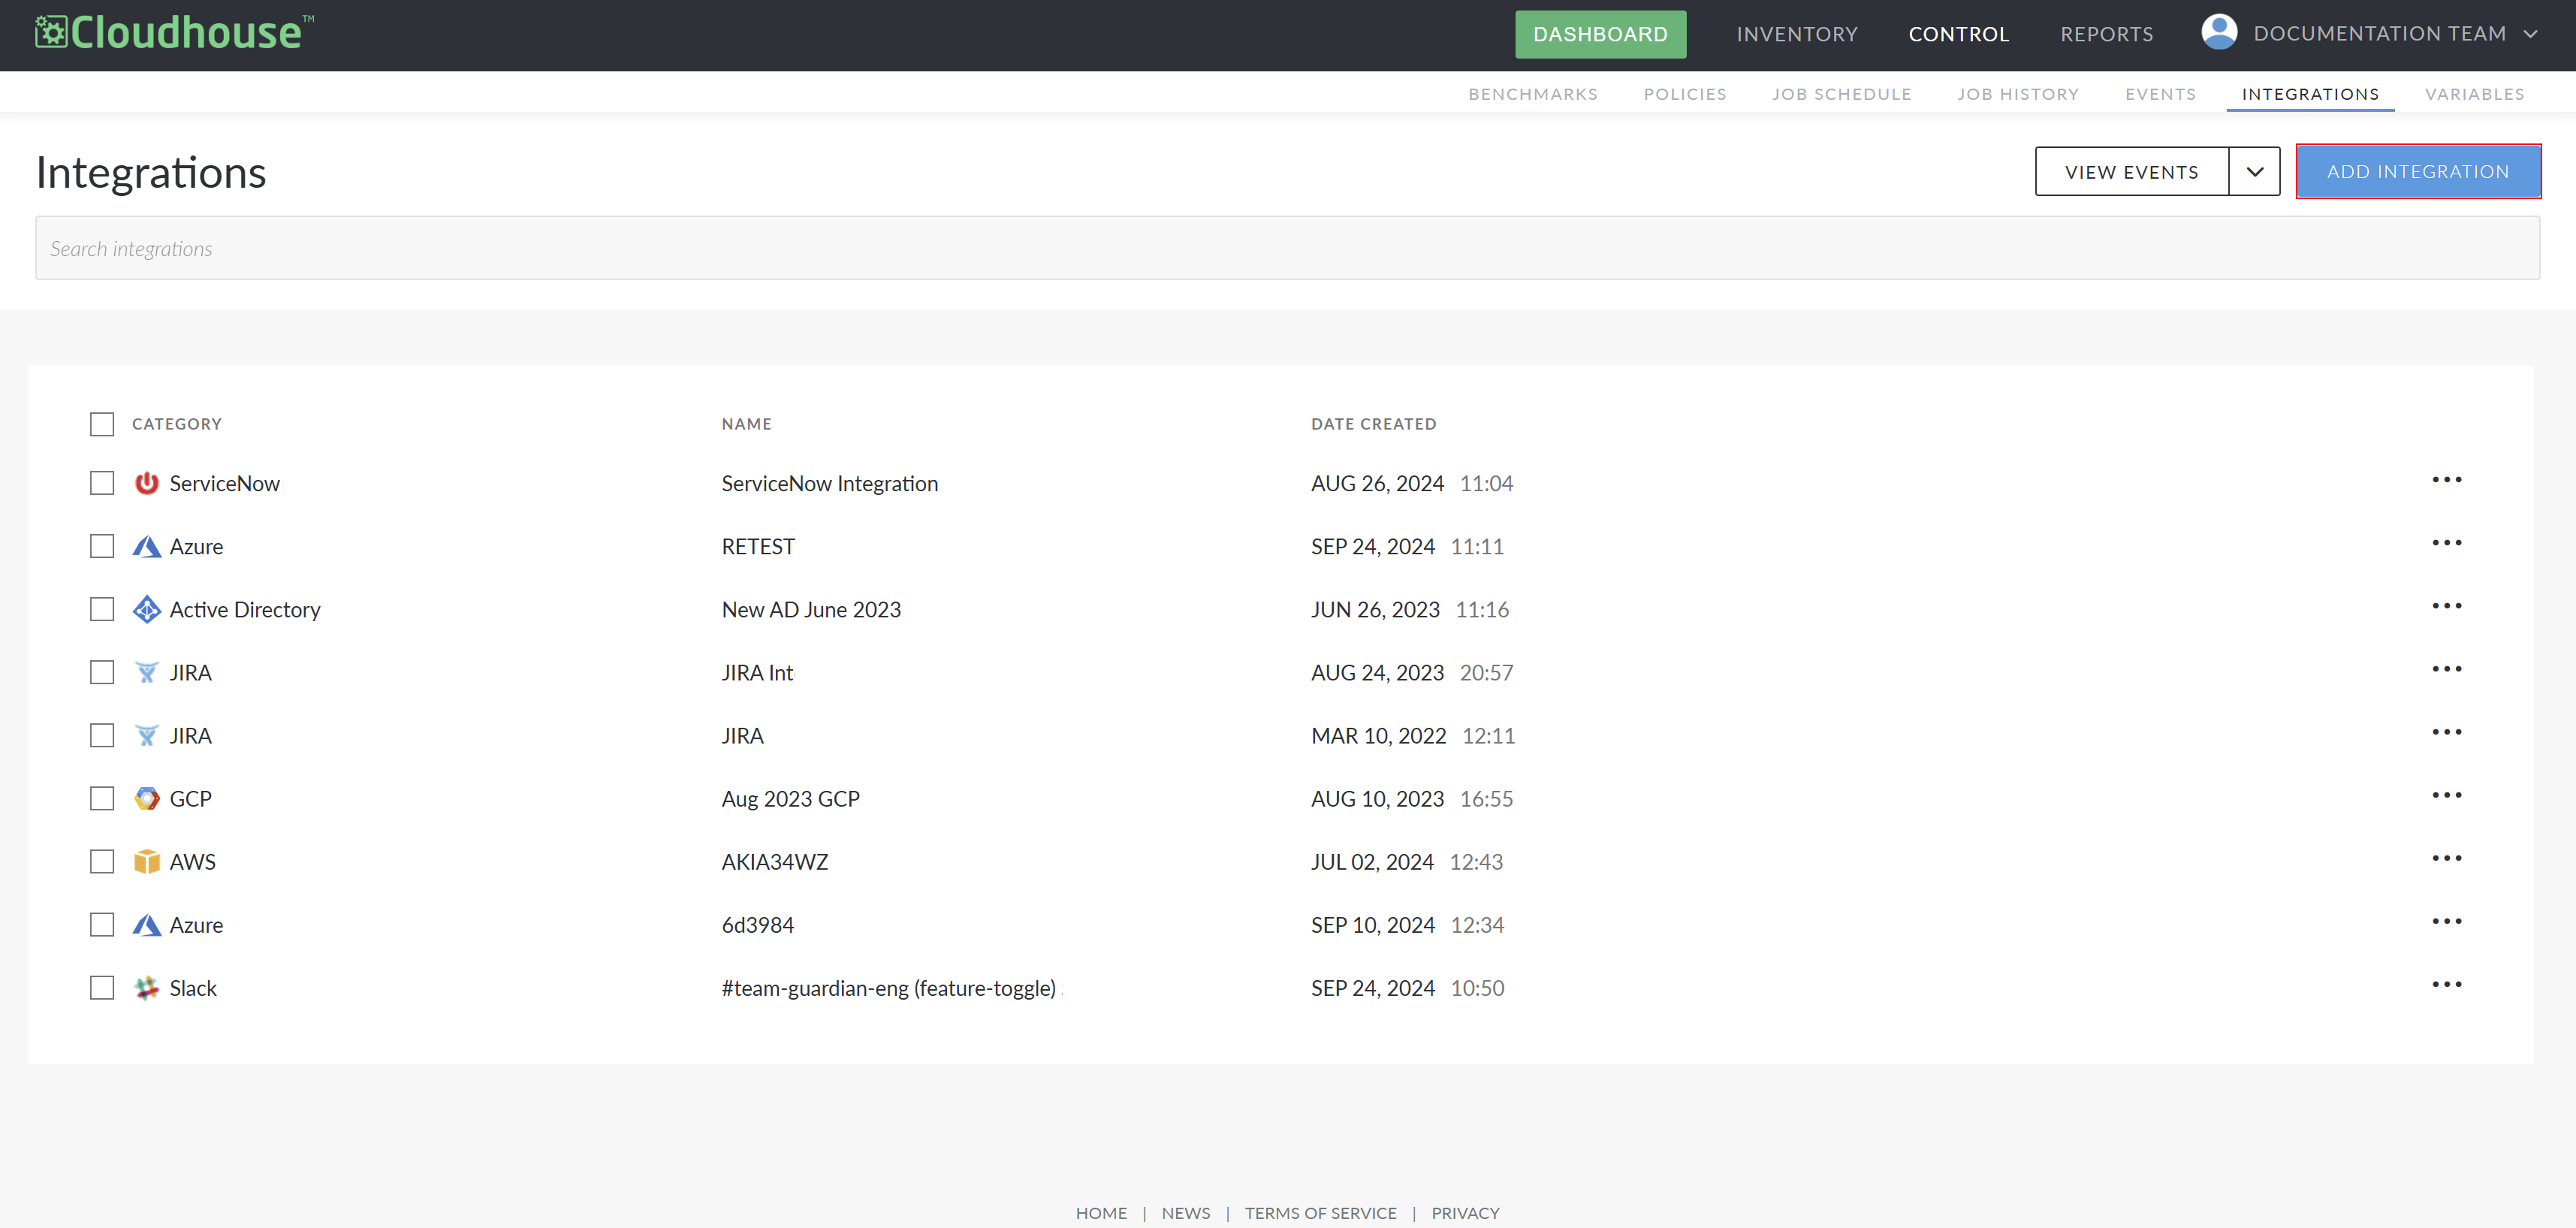
In the Guardian web application, navigate to the Integrations tab (
-
Select Active Directory from the list of available integrations. Here, you are required to complete the following options:

Option
Description
Name field
The display name for the integration within Guardian. This name is how you will identify the integration among all others configured in your Guardian instance, so ensure it is descriptive.
Windows Connection Manager Group drop-down list
The Connection Manager group that is responsible for scanning and retrieving your AD node(s). Select a Windows Connection Manager group from the drop-down list.
LDAP Path field The LDAP path for your domain. For example, LDAP://DC=your,DC=domain,DC=here.LDAP Query field
Enter the query you want to use to filter nodes within the directory. For example,
(objectClass=computer).Linux Credentials drop-down
When synchronizing Linux nodes, provide your Linux credentials according to the following:
-
Linux Connection Manager drop-down list – The Connection Manager group that is responsible for scanning any non-Windows node(s) once they have been added to Guardian. Select a Connection Manager group from the drop-down list.
-
SSH Port (Optional) field – The Secure Shell (SSH) port number that the Linux Connection Manager uses to communicate with the target nodes for scanning. If you selected a Linux Connection Manager from the drop-down list above, enter the port number you are using. If no value is provided, Guardian will default to port 22.
Note: If you enter a port number that is different to the default (port 22), make sure that it matches the port number that the administrator of the target node is using to run their SSH server.
-
Linux Credentials drop-down – Option to use a stored credential. Select an option from the Credentials drop-down list. Additionally, you can select 'Add New Credential' to display the Create Credential dialog if you anticipate using these same credentials for other nodes or integrations. For more information, see Create Credential.
Note: This option is only available if you have the Credentials feature enabled. If you don't, you'll be prompted to enter a Username and Password for authentication.
-
Username and Password fields – The username and password of the account configured to use SSH.
Note: This option is only displayed if the Credentials feature is not enabled.
Windows Credentials drop-down
When synchronizing Windows nodes, provide your Windows credentials according to the following:
-
Windows Connection Manager drop-down list – The Connection Manager group that is responsible for scanning any Windows node(s) once they have been added to Guardian. Select a group from the drop-down list.
-
WinRM Port field – The default port for WinRM. Enter '5985' for HTTP-based connections, or '5986' for HTTPS/cert-based connections. If you are using non-standard ports for WinRM, enter them here.
-
Windows Credentials drop-down list – Option to use a stored credential. Select an option from the drop-down list. Additionally, you can select 'Add New Credential' to display the Create Credential dialog. For more information, see Create Credential.
Note: This option is only displayed if you have the Credentials feature enabled. If you don't, the Username and Password fields are displayed instead. For more information, see below.
-
Username and Password fields – The username and password of the account configured to use WinRM.
Note: This option is only displayed if the Credentials feature is not enabled.
Automatically start monitoring and scanning detected nodes checkbox
Option to automatically start monitoring and scanning your nodes once the AD integration has been created. If selected, the imported nodes are automatically added to the Monitored tab (Inventory > Monitored) for regular scanning. Here, you can apply policies, create node groups, and schedule regular scans. For more information, see Monitored Nodes.
If not selected, the nodes are added to the Detected tab (Inventory > Detected) for processing. To monitor the detected nodes, you must move them to the Monitored tab. For more information, see Detected Nodes.
-
-
Once you have set the correct values for each of the options displayed, click Done to create the AD integration.
If successful, a confirmation message is displayed and the AD integration is added to the Integrations tab of your Guardian instance. If unsuccessful, an error message is displayed. Use the information displayed in the error message(s) to troubleshoot the values in your AD Integration options.
Integration Outcomes
When integrating AD with Guardian, the following outcomes are expected:
-
The integration stores the credentials that you supply to Guardian securely, within the database.
-
An automatic synchronization (between Guardian and AD) occurs every two hours. For more information on how to alter this interval, see Job Schedule (Control > Job Schedule).
-
The sync event calls out to AD using the supplied credentials to return a list of detected nodes and their corresponding details.
-
By default, any nodes that Guardian detects within your AD instance are automatically stored within the Detected tab for processing.
-
Alternatively, if the Automatically start monitoring and scanning newly detected nodes checkbox is selected, the detected nodes are added to the Monitored tab instead.
Troubleshooting
If you are experiencing issues with your integration, try the following:
-
Verify that the account credentials supplied for the integration are correct.
-
Depending on how the integration was configured, the synced nodes are either displayed on the Detected tab or the Monitored tab.
-
To confirm the status of the integration sync, check the integration sync event in the Events tab (Control > Events) of your Guardian instance. For more information, see Events.